Read the transcript / translated subtitles
Captions are based on automatic speech recognition. Terminology and translations are provided for reading assistance; use the original recording to check uncertain wording.
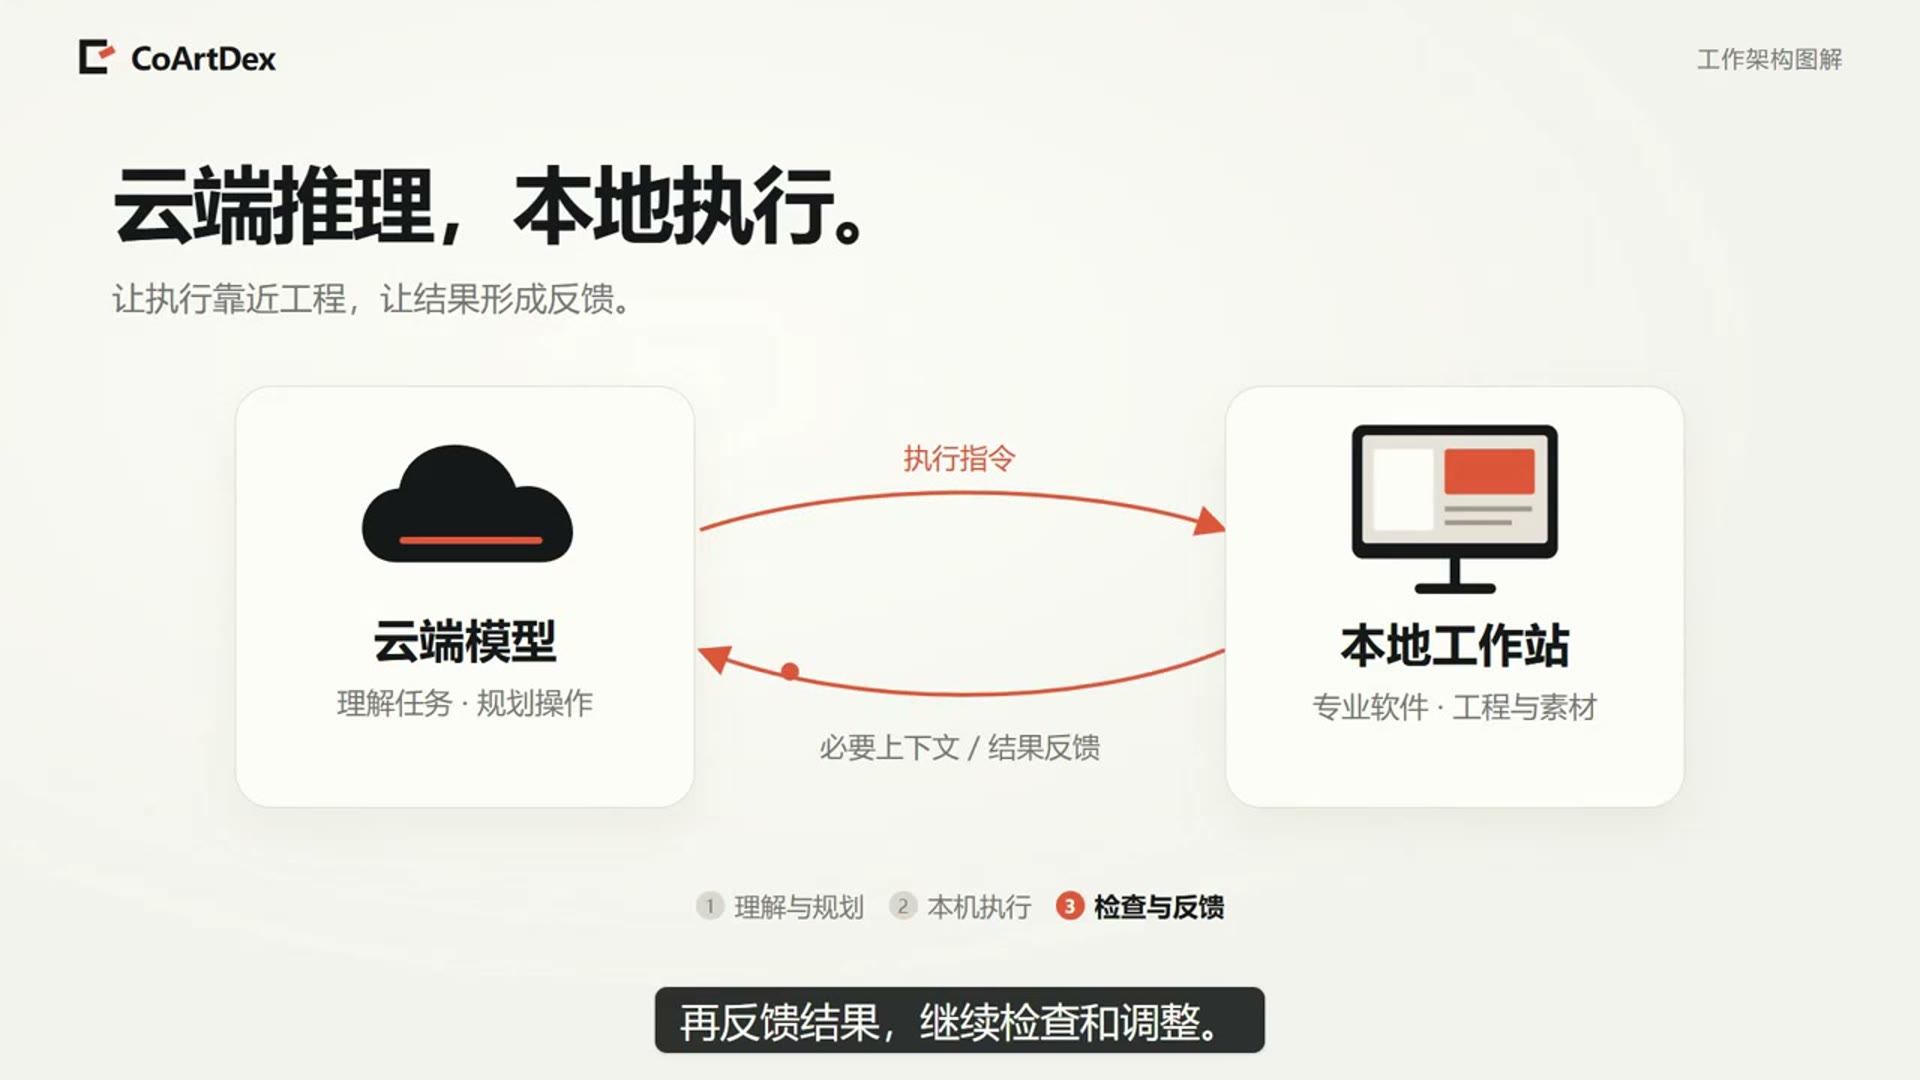
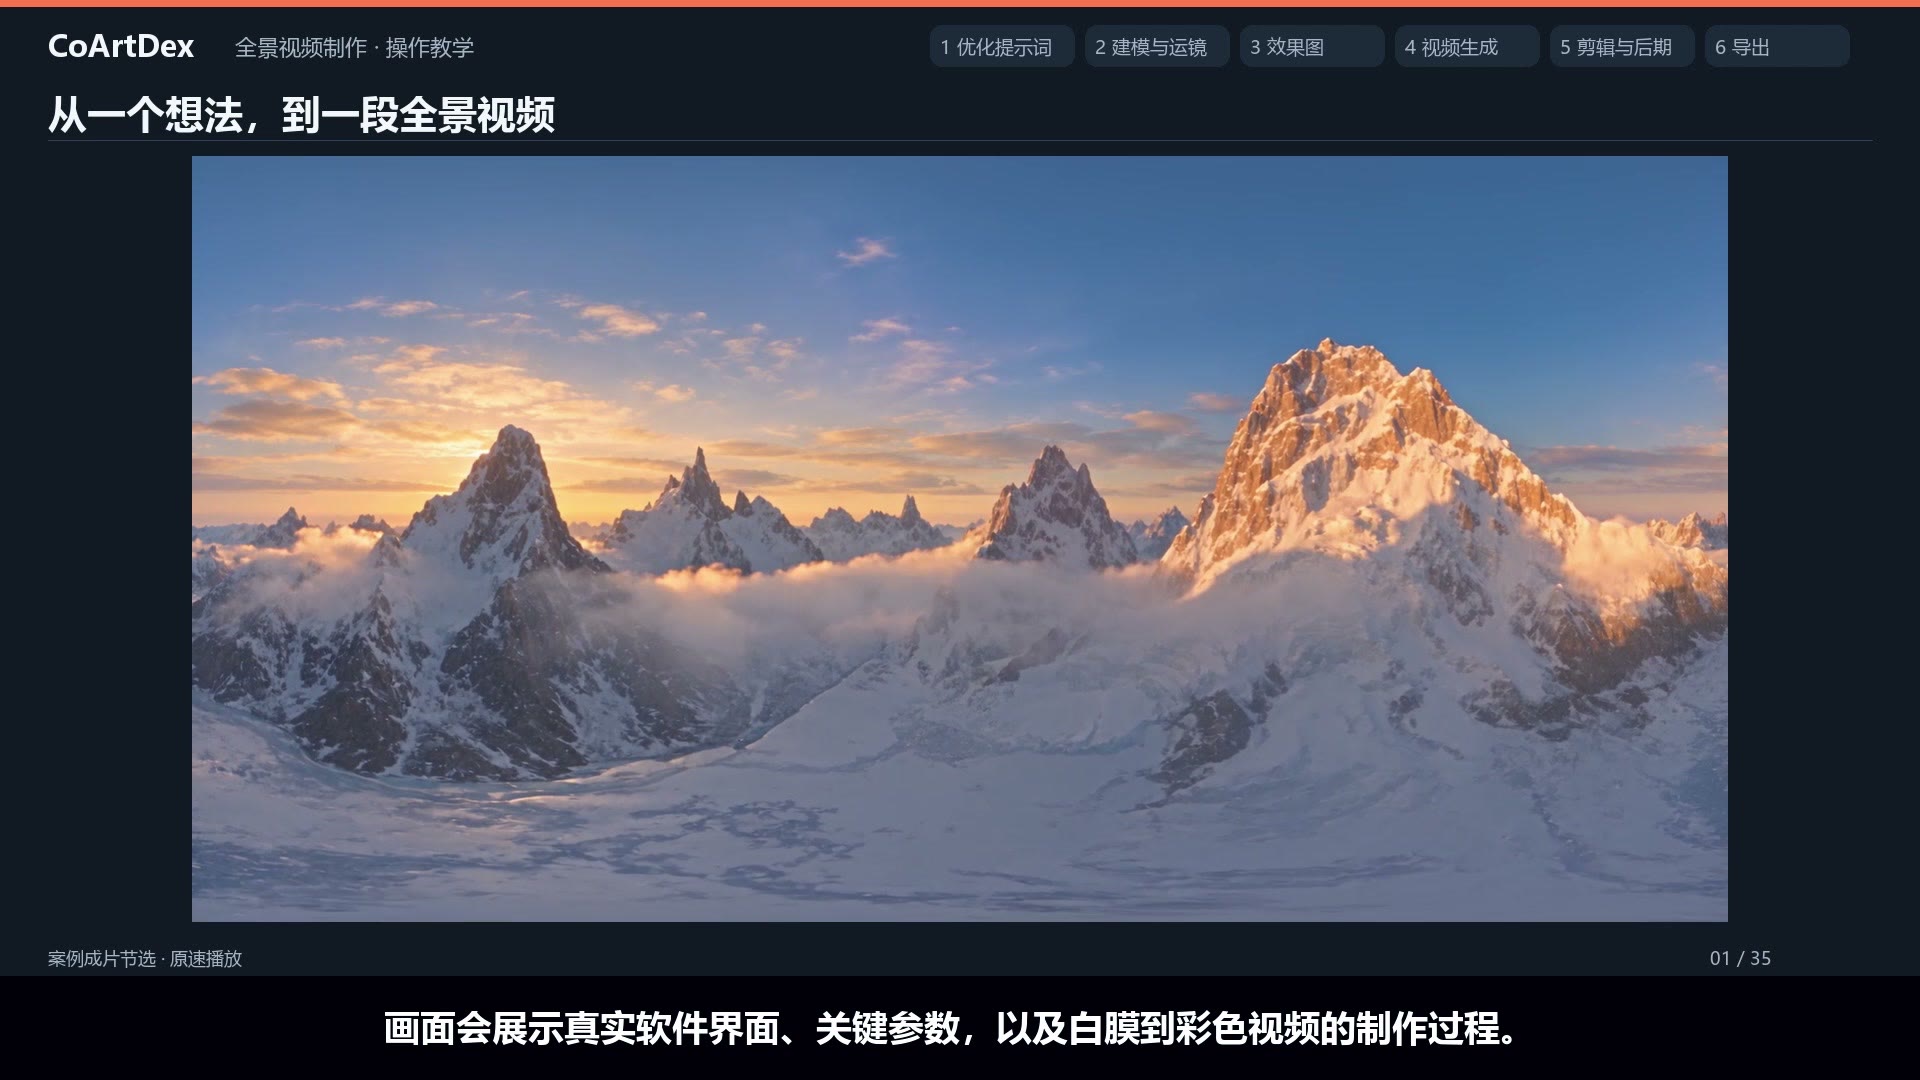
0:00 From an idea to a finished result.
0:02 This tutorial starts with the interface and connection setup.
0:05 It demonstrates cloud image generation and website development,
0:08 as well as practical operations in six local applications.
0:11 First, look at the interface. Project tabs are at the top.
0:14 The conversation and execution history appear in the middle.
0:16 Enter your prompt at the bottom. Before sending it,
0:19 check the working location displayed above the input box.
0:23 On the left, select a cloud workspace, an online computer or a software project.
0:27 On the right, browse cloud files or local folders.
0:30 After switching the file browser, confirm where the task will actually run.
0:35 To work on your computer, first install and run the Windows client.
0:39 Once the client reports that the computer is connected,
0:42 it will appear online on the left side of the workspace.
0:46 This recording uses the computer named WF3080.
0:50 Next, open the target application and project.
0:52 Check the editor plugin in the client. Once it connects,
0:57 the application appears under the computer.
0:59 To edit a project, enable the relevant permissions in the plugin.
1:04 Select the application card and check the computer, application and project names.
1:08 Select a local folder when you need to specify inputs or an output location.
1:12 Once everything is ready, describe the task in natural language.
1:16 First, cloud image generation: select a cloud workspace and attach a floor plan and style reference.
1:22 Describe the layout, materials, lighting and camera requirements in your prompt.
1:28 The request submitted in this recording
1:30 is for a hydrogen energy technology exhibition rendering.
1:32 Image generation runs in the cloud.
1:34 The waiting time has been shortened. When it finishes,
1:36 open the image preview directly in the workspace.
1:39 Here is the generated result.
1:41 Check the central display island, transparent enclosure, entrance view and overall palette.
1:46 Then describe any specific revisions you want.
1:52 The second cloud example is
1:53 website development. Upload a reference video
1:55 and ask for a webpage
1:57 combining traditional roof eaves with hanging text
2:00 and mouse interaction.
2:03 Explain what should happen when the pointer moves across it.
2:06 The text bends, is pulled along, and gradually falls back. Define these behaviors
2:10 so the result can match your expectations.
2:13 When the page is ready, open the cloud preview.
2:16 The recording shows the roof shape and text curtain on the right.
2:20 Continue discussing and adjusting it in the same workspace.
2:23 Enlarge the page and move the pointer
2:28 to observe the text deformation and return motion.
2:30 Check the different page states
2:32 and verify each interaction requirement from the original brief.
2:35 Now, move on to local software.
2:42 Select AutoCAD and the current drawing under WF3080, attach a floor plan and enter:
2:48 'Trace this floor plan as a CAD drawing.'
2:51 The operation now targets the local AutoCAD application.
2:55 The assistant uses the reference to work on outlines and text.
2:58 Execution progress remains visible in the conversation. Key portions are retained here;
3:02 the long wait has been shortened.
3:04 Return to AutoCAD to inspect the actual line drawing.
3:08 Zoom in to check the outlines,
3:10 space divisions and text placement, then zoom out to check the overall relationships.
3:18 Finally, compare the exported preview.
3:21 This workflow turns a tracing request into a local drawing you can continue to edit.
3:26 For Blender, the request is to model an animation of a pelican riding a bicycle,
3:34 paying attention to detail and plausibility.
3:36 Before sending it, confirm that the correct Blender project is selected on the left.
3:41 The assistant organizes the character, bicycle and scene in the local project.
3:45 Modeling and revisions take time, so this tutorial retains selected execution footage
3:49 and spends more time examining the result.
3:52 Now, return to Blender to view the result.
3:55 You can identify the pelican's long beak, scarf, bicycle wheels and frame.
4:00 Check the proportions between the character and the bicycle.
4:07 Next, zoom in to examine the shape and materials.
4:10 This section focuses on the model and scene appearance.
4:13 The animation's motion
4:15 still needs to be played back and checked on Blender's timeline.
4:20 The SketchUp example uses site photos, CAD dimensions and a style reference
4:25 to model the main structure of Jiaxiu Pavilion. The purpose of each reference
4:30 should be explained in the prompt.
4:32 After selecting the local SketchUp project,
4:34 the assistant uses the references to create the building form.
4:37 The intermediate processing has been shortened.
4:39 Now, inspect the model in the application.
4:43 Orbit the view in SketchUp
4:45 to check the three tiers of eaves, columns, doors, windows and raised base.
4:49 Zoom in to examine the roof corners and lower structure.
4:52 Finally, return to an overall view and inspect the front preview.
5:01 After modeling, check the shape from several angles
5:04 before deciding which areas to refine next.
5:10 In the Unity example, first provide a reference video of a particle effect.
5:13 Ask for a similar effect using a particle system,
5:16 with mouse interaction.
5:18 The goal is to turn a visual reference into a scene that runs in real time.
5:22 After selecting the Unity project in the workspace,
5:25 the assistant reads project files and implements changes. Then return to the editor
5:30 so the assets and code can update before checking the running result.
5:34 Here, blue particles form a rolling surface,
5:38 with a color band below. The recording shows both Scene and Game views.
5:43 Observe how the shape changes over time.
5:49 When checking interaction, focus on the response near the pointer
5:53 and whether the wave peaks move continuously and resemble the reference.
5:57 Use the actual behavior in the editor to judge the result.
6:00 Next, Unreal Engine. Select the local project and describe the task:
6:08 set up a sightseeing route through central Lujiazui
6:12 and have a helicopter start automatically and fly one circuit.
6:17 The assistant reads the existing scene and logic, then modifies the sightseeing route.
6:22 The work takes time; key portions are shown here.
6:25 Then switch to the actual Unreal Engine view.
6:28 The editor shows the city, river and route markers. Once running,
6:34 the camera moves above the city.
6:36 The spatial relationship between buildings and the route becomes clearer.
6:39 Watch this continuous sequence to see the flight perspective and passing buildings.
6:46 For this type of task, review the change history
6:49 and check the route and movement while the project is running.
6:56 Finally, connect to local DaVinci Resolve
6:58 to turn the screen recordings into a tutorial. In the prompt,
7:01 specify the chapter order, narration requirements and waiting time to remove.
7:06 The assistant organizes footage, prepares narration and captions, and imports the clips into Resolve.
7:13 It builds a timeline by chapter.
7:15 This shows how an early version of this tutorial was made.
7:18 Back in Resolve, you can see the video clips and narration tracks.
7:24 Inspect the frame at the playhead.
7:26 Check chapter transitions and caption placement, then open the Deliver page.
7:30 Set the export parameters and let Resolve render the final video.
7:39 From a natural-language request, to an editable timeline, to a video deliverable,
7:44 the workflow is connected.
7:49 Check the working location, describe the task clearly and review the result.
7:52 Connect your tools and start your next project.
7:55 CoArtDex. From idea to result.